Proxy Settings
This window shows the Proxy settings.
For directions on how to access the Proxy settings, click here.
All Users
Leave the first setting, "Autodetect proxy settings", set to ON unless otherwise directed by your IT Department.
For IT Department Only
Typically, enabling "Autodetect" is the best choice. However, if this does not work, it is possible that the proxy settings are managed by some scripts that do not dynamically resolve the proper proxy address to reach the swyMed server. In this case, the proxy settings will have to be entered manually.
If a proxy client is being used, disabling both "Autodetect" and "Connect thru following proxy" will allow swyMed to connect, but the call will never start as the proxy client is unable to manage different apps trying to connect to the same IP:PORT (swyMed server). In this case, use the "Connect thru following proxy" option and manually enter the proper values.
To configure the proxy settings, you will need the proxy address, authentication information, and IP:PORT.
Click on any image below to view the full-size version. Click outside the image to return to these directions.
Click to view descriptions for individual settings:
- Autodetect proxy settings / Connect thru following proxy
- Proxy account / password
- Force BASIC authentication
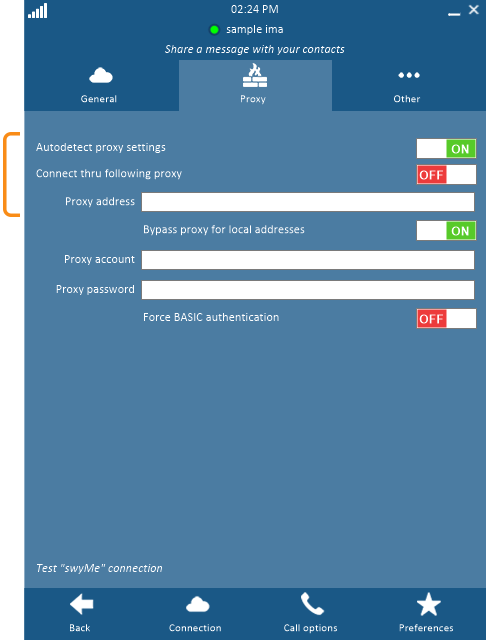
Autodetect proxy settings / Connect thru following proxy
At most one of these options can be enabled at a time; they cannot both be turned on.
When "Autodetect" is enabled, swyMed will use your Windows settings.
"Connect thru..." allows you to enter settings manually under Proxy address.
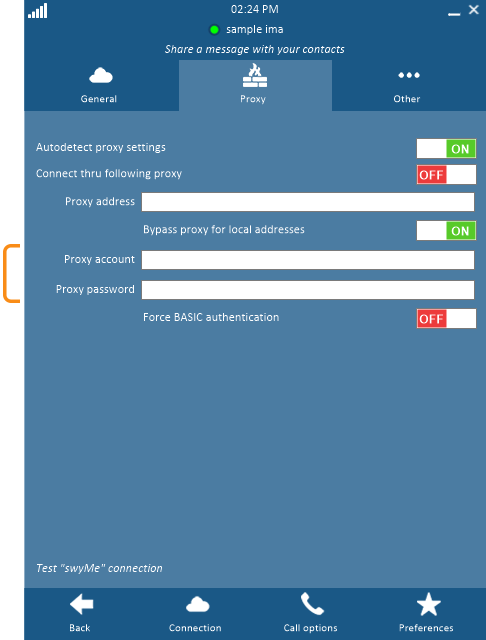
Proxy account / password
If your proxy requires authentication, enter the login and password information. In the case of LDAP, enter your LDAP domain/login and password here.
Force BASIC authentication
Normally kept turned off, this feature should be turned on for old proxy systems that require authentication but do not support secure authentication.
